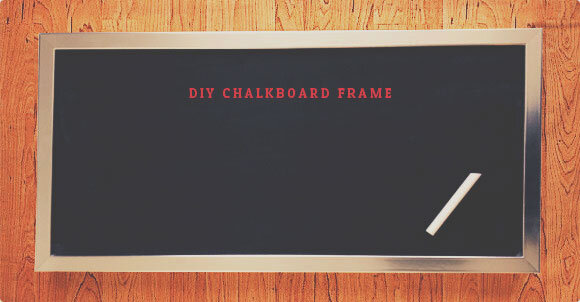
DIY Chalkboard Frame
 I think I mentioned recently how I really want to start crafting again... I'm not really looking to start making everything, but I want to start making and doing things with my hands again. So I recently just jumped in (sort of).So I found these frames in the 'as-is' department at IKEA for $2.99 (I purchased three of them) and promptly did nothing with them for about seven months or so. Until just a couple weeks ago when I felt compelled to start crafting again... and had the perfect idea. Chalkboards. :)
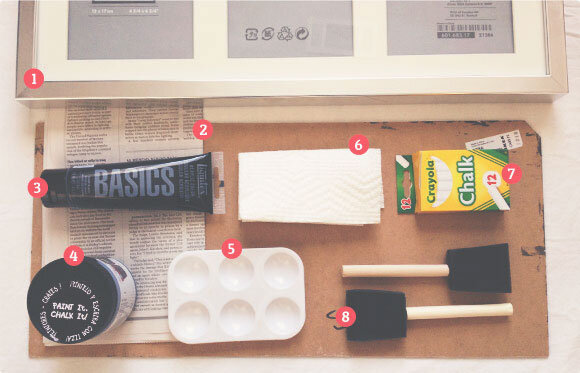
Supplies:
one // unused frametwo // newspaperthree // plain acrylic paintfour // chalkboard paintfive // paint dishsix // paper towelseven // chalkeight // sponge brush/paint brush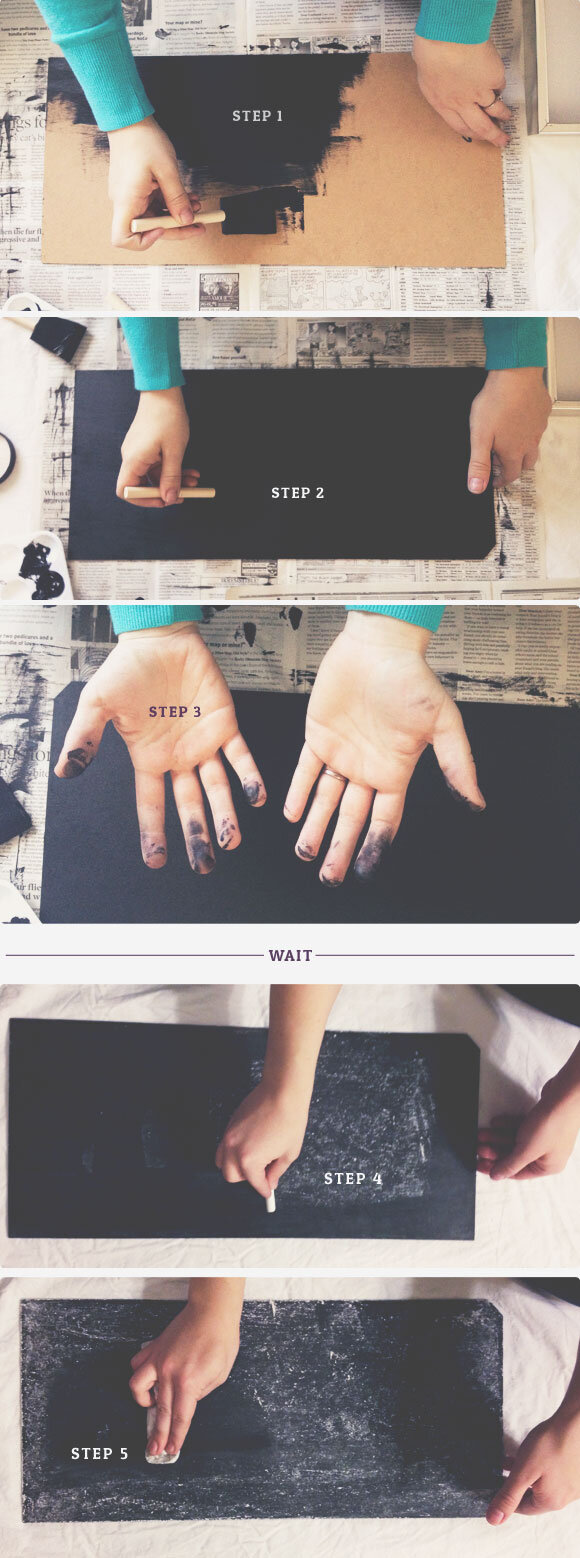
 Step 1 : Layout our your newspaper to catch any and all paint splatters and spills. Then pull out the hard backing of the the frame - this shall turn into your chalkboard - and cover it with a even layer of regular acrylic paint. Let dry thoroughly (for about an hour).Step 2 : After the base of acrylic is dry cover in a even layer of chalkboard paint. Let that layer dry thoroughly (an hour or so) then apply a second coat. Let dry very thoroughly (it needs to cure after the second coat for about 24 hours).Step 3 : Wash your hands and clean up your workspace. You may not need this step... but I certainly do as evidenced by the photo. :)Wait... 24 hours or so.Step 4 : Cover your newly created chalkboard evenly with chalk - this will season the chalkboard so future messages written on the chalkboard won't burn into the surface.Step 5 : Wipe off the chalk with a damp washcloth or papertowel. Then you can put your frame back together and place wherever you please. :)Enjoy!